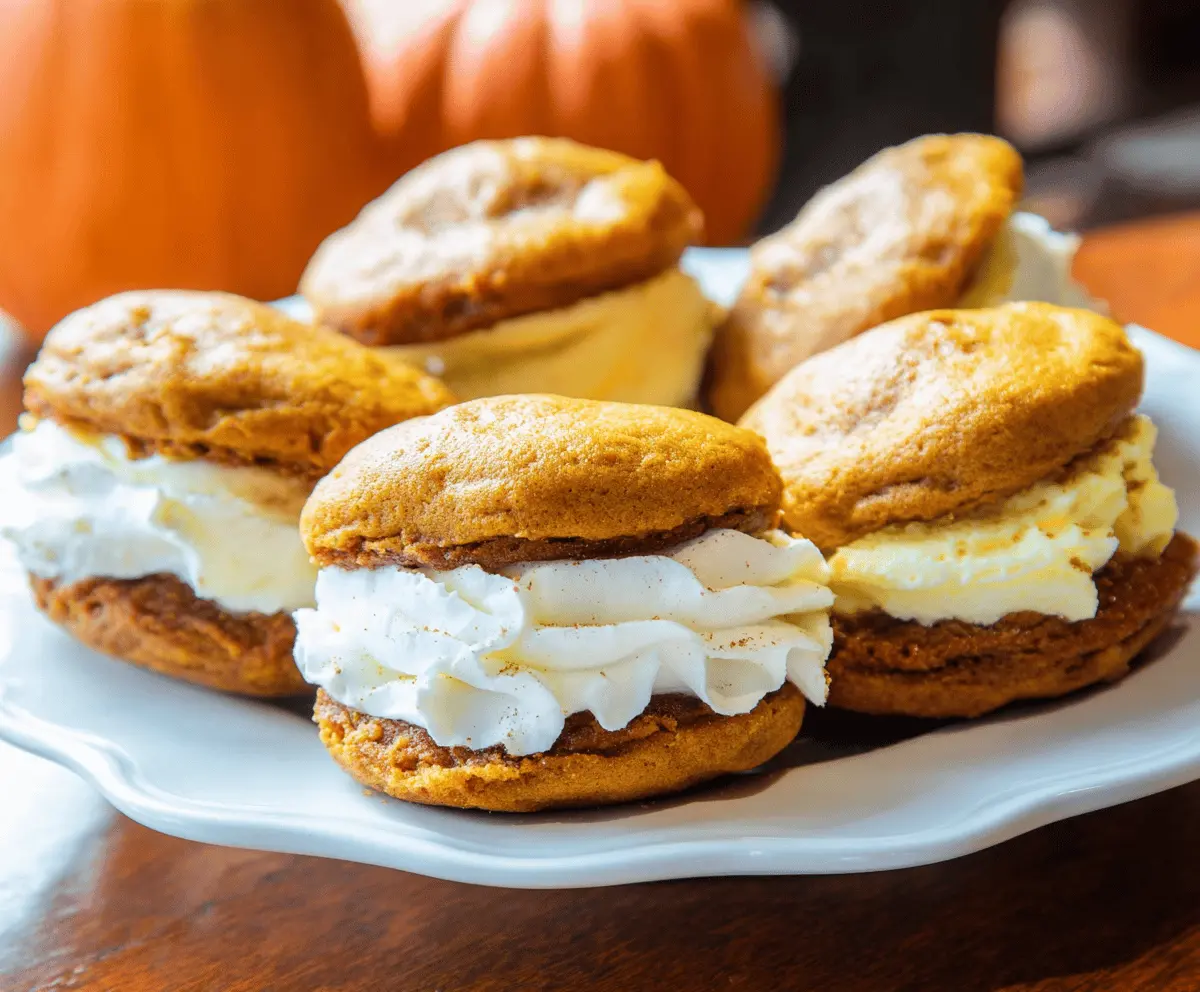
Amish Pumpkin Whoopie Pies are soft, cake-like cookies filled with creamy frosting. They feature a lovely pumpkin spice flavor that brings warmth to every bite!
These treats are perfect for sharing, but I often find myself hiding a few just for me! 🎃 They’re super easy to whip up, making them a great fall delight for everyone to enjoy.
Key Ingredients & Substitutions
All-purpose flour: This is the base for the cakes. If you want a gluten-free version, try using a 1:1 gluten-free baking mix. Just ensure it contains xanthan gum for proper structure.
Canned pumpkin puree: You might opt for homemade pumpkin puree if you have fresh pumpkins on hand. It adds freshness but make sure to drain any excess moisture.
Cream cheese: If you’re looking for a dairy-free option, try using a dairy-free cream cheese alternative. It will provide a similar creamy texture without the dairy.
Spices: Feel free to play with the spices! You could add a pinch of cloves or even some allspice for a bolder flavor. If you’re short on spices, a pumpkin spice blend works as a good substitute.
How Do I Ensure My Whoopie Pies Are Soft and Cake-Like?
To achieve that perfect soft texture, you’ll want to avoid overmixing the batter. Overmixing can lead to tougher cakes. Here’s how to keep them tender:
- Mix until the ingredients are just combined. Some lumps are okay!
- Use room temperature butter and eggs; this creates a smoother batter and helps with even baking.
- Pay attention to baking time. Start checking around the 12-minute mark, and remove them from the oven as soon as they spring back when touched.
Lastly, letting them cool completely before frosting is key. This helps maintain the moisture and overall texture of the whoopie pies!
Amish Pumpkin Whoopie Pies
Ingredients You’ll Need:
For the Pumpkin Cakes:
- 2 cups all-purpose flour
- 1 teaspoon baking powder
- 1/2 teaspoon baking soda
- 1 teaspoon ground cinnamon
- 1/2 teaspoon ground ginger
- 1/4 teaspoon ground nutmeg
- 1/4 teaspoon ground cloves
- 1/2 teaspoon salt
- 3/4 cup (1.5 sticks) unsalted butter, softened
- 1 cup granulated sugar
- 1 large egg
- 1 cup canned pumpkin puree
- 1 teaspoon vanilla extract
For the Filling (Cream Cheese Frosting):
- 8 ounces cream cheese, softened
- 1/2 cup (1 stick) unsalted butter, softened
- 3 to 4 cups powdered sugar, sifted
- 1 teaspoon vanilla extract
How Much Time Will You Need?
This delightful recipe will take about 20 minutes for preparation and around 15 minutes for baking. After that, let them cool for a while before you fill and serve them. Overall, plan for about an hour to have your whoopie pies ready to enjoy!
Step-by-Step Instructions:
1. Prepping the Oven and Baking Sheets:
Start by preheating your oven to 350°F (175°C). While it’s heating up, line your baking sheets with parchment paper so the cakes won’t stick.
2. Make the Dry Mix:
In a medium bowl, whisk together the flour, baking powder, baking soda, cinnamon, ginger, nutmeg, cloves, and salt. This blend of spices is what gives your whoopie pies that warm, autumn flavor!
3. Cream the Butter and Sugar:
In a large bowl, cream together the softened butter and granulated sugar until the mixture is light and fluffy. This will take about 2-3 minutes.
4. Add Egg and Vanilla:
Next, add the egg and vanilla extract to the butter-sugar mix. Beat everything together until it’s well combined and smooth.
5. Add the Pumpkin:
Mix in the pumpkin puree until it’s fully incorporated into your batter. This will keep your whoopie pies moist and flavorful!
6. Combine the Mixtures:
Now, gradually add the dry mixture to the wet ingredients. Mix just until everything is combined—all the flour should be mixed in, but don’t overdo it!
7. Scoop the Batter:
Using a tablespoon, drop spoonfuls of batter onto the lined baking sheets, spacing them about 2 inches apart. Gently flatten each mound with the back of the spoon.
8. Bake:
Bake your whoopie pies in the preheated oven for 12 to 15 minutes, or until the tops spring back lightly when touched. Let them cool on the baking sheet for about 5 minutes before transferring them to a wire rack to cool completely.
9. Prepare the Fro frosting:
While your cakes are cooling, make the cream cheese filling. In a separate bowl, beat the softened cream cheese and butter together until they’re smooth and creamy.
10. Add Sugar and Vanilla:
Gradually add the powdered sugar, one cup at a time, mixing well after each addition. You’re looking for a sweet and creamy consistency—feel free to adjust the sugar to your taste. Stir in the vanilla extract when you’re satisfied with the sweetness.
11. Assemble the Whoopie Pies:
Once your cakes are completely cool, it’s time to spread or pipe a generous amount of frosting onto the flat side of one cake. Top it off with another cake to make a lovely sandwich!
12. Serve and Enjoy:
You can serve them immediately or refrigerate them until you’re ready to enjoy. They taste best when eaten fresh, but they can be stored for a couple of days in an airtight container.
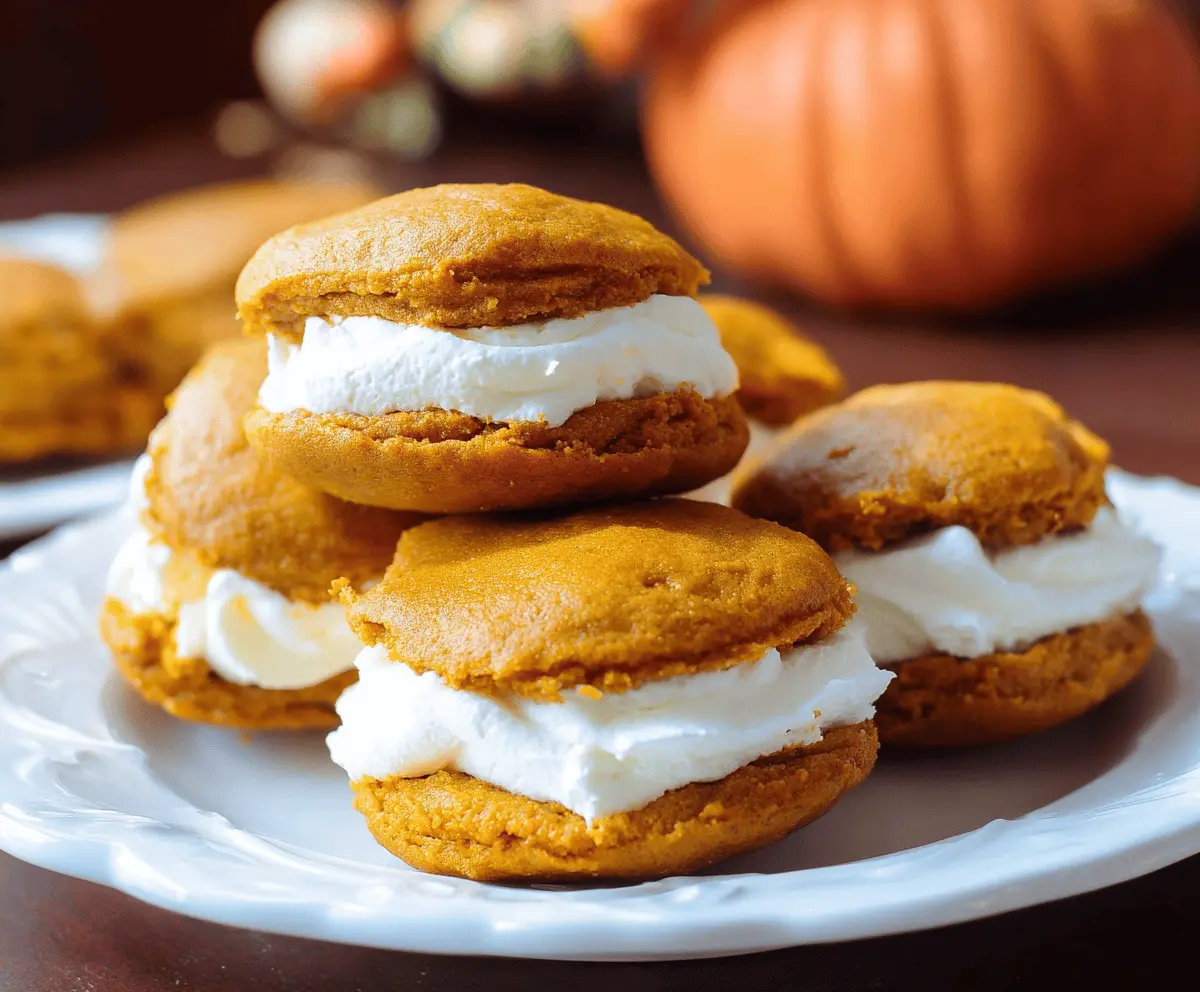
Enjoy your soft, spiced pumpkin whoopie pies with their creamy filling—perfect for sharing at autumn gatherings or cozy nights at home!
img src=”https://thedinnerinspiration.com/wp-content/uploads/2025/09/amish-pumpkin-whoopie-pies.webp” alt=””>
Can I Use Fresh Pumpkin Instead of Canned?
Absolutely! You can use fresh pumpkin if you prefer. Just make sure to cook and puree it, then drain any excess moisture to avoid making the batter too wet. This will help maintain the right texture in your whoopie pies!
How Should I Store Leftovers?
Store any leftover whoopie pies in an airtight container in the refrigerator for up to 3 days. For the best texture, let them sit at room temperature for a few minutes before enjoying!
Can I Freeze Whoopie Pies?
Yes, you can freeze them! After assembling, place the whoopie pies in a single layer on a baking sheet. Freeze until solid, then transfer them to a freezer-safe bag or container. They can be frozen for up to 2 months. Thaw in the fridge before enjoying.
What If I Don’t Have Cream Cheese?
If you’re out of cream cheese, you can substitute it with mascarpone cheese or even use a non-dairy cream cheese alternative for a similar creamy texture. Adjust the sweetness by adding a bit more powdered sugar if needed!