These festive Christmas Tree Peanut Butter Treats are a fun and tasty way to celebrate the holidays! Made with creamy peanut butter and sweet chocolate, they look just like little trees!
They’re so easy to make, kids love to help out decorating them with sprinkles. I always end up eating a few before the party—oops! 😄 Perfect for sharing or just enjoying at home!
Key Ingredients & Substitutions
Creamy Peanut Butter: This is the star of the recipe. While I love the classic creamy variety, you can use crunchy peanut butter for added texture. For nut allergies, try sunflower seed butter or soy nut butter instead!
Unsalted Butter: I recommend using unsalted butter to control the salt level. If you’re dairy-free, coconut oil makes a great substitute, adding a slight tropical flavor to the treats.
Powdered Sugar: This sugar helps bind the mixture and create a delightful sweetness. If you’re looking for a healthier option, you can use coconut sugar blended until fine, though it may alter the texture a bit.
Semi-Sweet Chocolate Chips: These bring the treats together with their rich flavor. Dark chocolate or milk chocolate chips can be used depending on your preference, or even white chocolate for a different look!
Gold Edible Sprinkles: These sprinkles add a festive touch! Feel free to use any colored sprinkles, or skip them altogether for a simpler look. Crushed nuts or edible glitter are also fun options!
How Do I Ensure My Chocolate Coating Is Smooth and Shiny?
Melting chocolate perfectly can be tricky. Here’s how to get that smooth, shiny finish:
- Use a dry bowl and spoon—water can make chocolate seize up!
- Melt chocolate in short bursts in the microwave to avoid overheating. Stir well in between. If you do accidentally overheat it, add a teaspoon of vegetable oil to bring it back to life!
- Spoon the melted chocolate over the peanut butter trees while it’s still warm; it spreads easier that way.
- Don’t forget to work quickly if you’re adding sprinkles. They should stick to the chocolate before it hardens!
With these tips, your Christmas Tree Peanut Butter Treats will not only taste amazing but look festive too! Enjoy making them during the holiday season!

Christmas Tree Peanut Butter Treats
Ingredients You’ll Need:
For the Peanut Butter Base:
- 1 cup creamy peanut butter
- 1/4 cup unsalted butter
- 1 1/2 cups powdered sugar
- 1 tsp vanilla extract
For the Chocolate Coating:
- 2 cups semi-sweet chocolate chips
- Gold edible sprinkles or edible gold leaf flakes (for decoration)
How Much Time Will You Need?
This delightful treat takes about 15 minutes to prepare, plus an additional 30 minutes to chill in the refrigerator. In just under an hour, you’ll have a festive dessert ready to share or enjoy!
Step-by-Step Instructions:
1. Prepare Your Baking Sheet:
Begin by lining a baking sheet with parchment paper. This will help prevent the treats from sticking, making them easier to remove later.
2. Melt the Peanut Butter and Butter:
In a medium saucepan over low heat, combine the creamy peanut butter and unsalted butter. Stir frequently until the mixture is smooth and well combined. This creates the delicious base for your treats!
3. Mix in Sugar and Vanilla:
Once melted, take the saucepan off the heat and add the powdered sugar and vanilla extract. Stir until everything is fully incorporated and you have a stiff dough texture.
4. Shape the Dough:
Transfer the peanut butter mixture onto the prepared baking sheet. Roll it out gently with a rolling pin to about 1/4-inch thickness. Make sure it’s even so all trees cook nicely!
5. Cut Out Tree Shapes:
Using a Christmas tree-shaped cookie cutter, cut out fun tree shapes from the rolled-out peanut butter dough. Carefully lift them and place them back onto the baking sheet.
6. Melt the Chocolate:
In a microwave-safe bowl, add the semi-sweet chocolate chips. Microwave in 30-second intervals, stirring in between, until the chocolate is completely melted and smooth.
7. Coat the Peanut Butter Trees:
Spoon the melted chocolate generously over each peanut butter tree. Use the back of a spoon to spread it evenly over the surface—make them as chocolatey as you like!
8. Add the Festive Touch:
While the chocolate is still wet, sprinkle gold edible sprinkles or flakes on top. This will give your treats a beautiful, festive look!
9. Chill to Set:
Place the baking sheet in the refrigerator for about 30 minutes, or until the chocolate is firm to the touch. This helps the chocolate coat harden perfectly!
10. Serve and Enjoy:
Once set, carefully remove the treats from the parchment paper. You can serve them right away, or store them in an airtight container in the fridge. Enjoy sharing these delightful treats with family and friends!
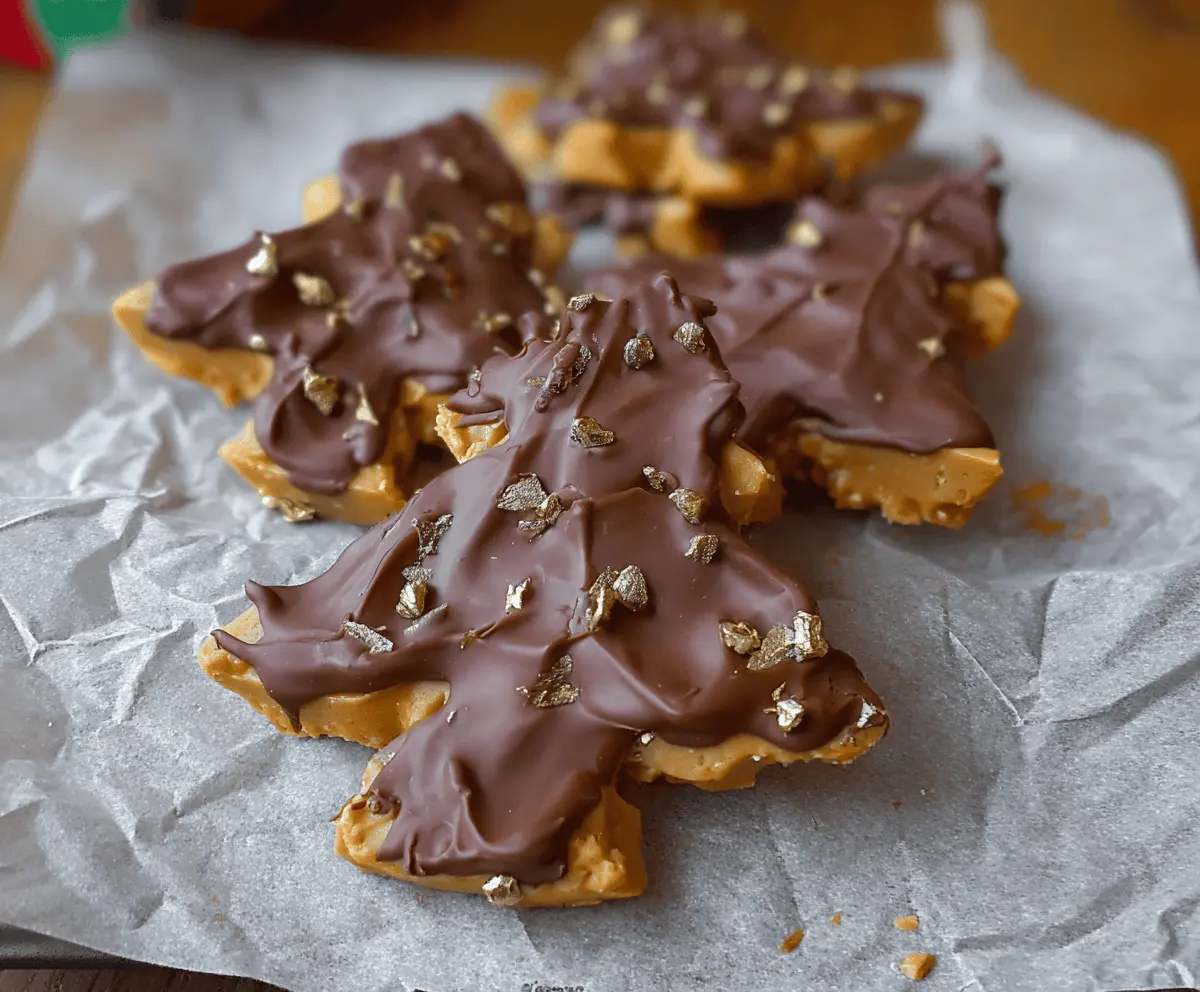
These festive Christmas Tree Peanut Butter Treats combine the rich, creamy peanut butter base with a luscious layer of chocolate and a touch of holiday sparkle, perfect for sharing or gifting during the season!
Can I Use Natural Peanut Butter Instead of Creamy Peanut Butter?
Yes, you can! Just be aware that natural peanut butter often has a different consistency and may require a little extra powdered sugar to achieve the right dough texture. You may also need to stir it well to mix any oil that has separated.
How Can I Store Leftover Treats?
Store any leftover treats in an airtight container in the fridge for up to a week. If you want to keep them longer, you can freeze them for up to three months. Just make sure to separate layers with parchment paper to prevent sticking!
Can I Use Different Chocolate for Coating?
Absolutely! You can use milk chocolate, dark chocolate, or even white chocolate according to your preference. Just keep in mind that melting times may vary, so check frequently while microwaving to avoid burning.
What If My Dough Is Too Sticky?
If your dough feels too sticky to roll out, add a bit more powdered sugar, a tablespoon at a time, until it reaches a manageable consistency. This will make it easier to cut out your Christmas tree shapes!